The Publisher Page tab in Company Settings allows Account Managers or Catalogue Editors to add or edit the information that appears on the publicly accessible Publisher Page. Adding imprints or client publishers to the account on the Publisher page will make it possible to build catalogues under any of those entities. At least one seasonal catalogue must be published before the Publisher page becomes visible to users outside the company account.
In the Publisher Page tab in Company Settings you can add or edit:
Publisher Information
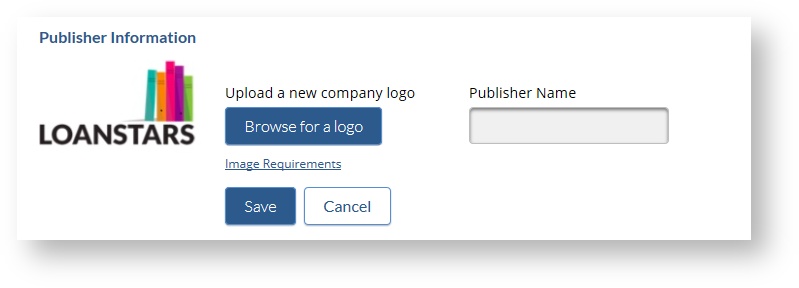
Then upload the company logo using the browse function to select a file from your system. Maximum size is 300px in any direction, with a 500KB file size limit.
In the Publisher Name text box, enter your company name the way you want it displayed on CataList. Click the Edit Entry button to save your changes.
You must have a publisher name associated with your account; publisher names can be edited but not removed. See below to add imprints or client publishers to your account.
Imprints (and Client Publishers)
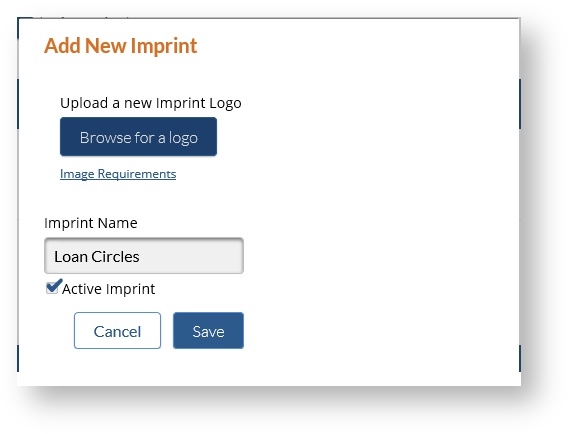
Add Imprint
Adding imprints and imprint logos to the Publisher page allows you to build catalogues for those imprints. You can also use this area to add client publishers to your account.
- In the Imprint Name box, enter your imprint name the way you want it displayed on CataList.
- Upload a logo for your imprint using the browse function to select a file from your system. Maximum size is 300px in any direction, with a 500KB file size limit.
- Click the Add an Imprint button to add the imprint to your Publisher page. The drop-down options in Create General Catalogue will also be automatically updated.

Edit Imprint
To edit an existing imprint, click on the Edit link in the table row for the the imprint you want to edit. The data in the row will become editable. Make your changes and click on the Update link to save your changes.
Imprints cannot be deleted, but they can be made inactive. To deactivate an imprint, click on the Edit link in the table row, and deselect the checkbox in the Status column. Click on the Update link to save your changes. Inactive imprints will not display on the Publisher page, and are no longer an option in the Create Seasonal Catalogue drop-down menu, however, existing catalogues for that imprint will continue to be available.
Websites
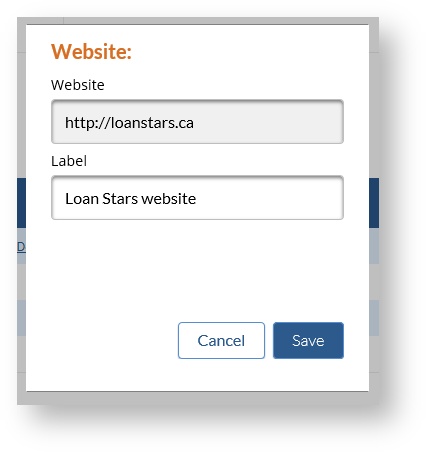
You can add up to five website links in the Websites section.
- Click on the Add a Website button.
- Enter the website address in the Website box. Do not include the "http://" prefix, it is added automatically.
- Enter the website name you want displayed in the Label box. This is the text that will be displayed on your Publisher page.
- Click the Save button to add this website to your Publisher page.
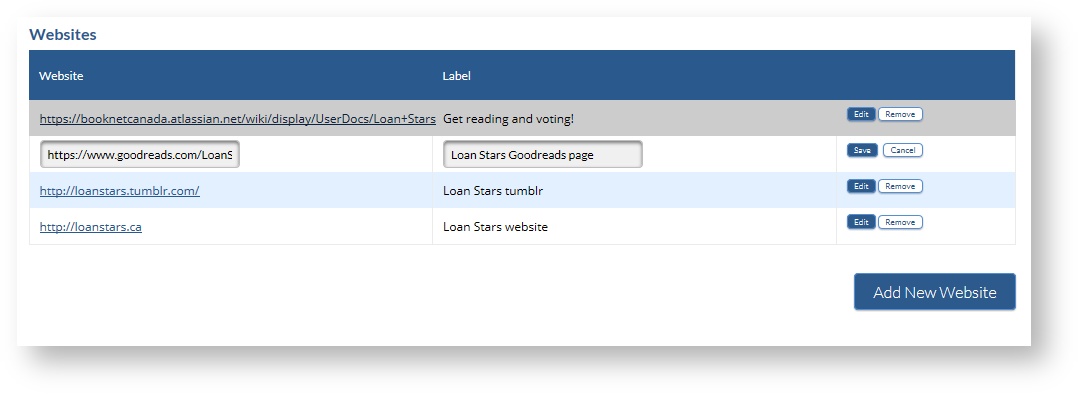
To edit an existing website, click the Edit link in the table row for the the website you want to edit. The data in the row will become editable. Make your changes and click on the Save link to save your changes.
To delete a website, click the Delete link in the table row for the the website you want to delete.
You can add up to five website links in the Websites section.
- Click on the Add a Website button.
- Enter the website address in the Website box. Do not include the "http://" prefix, it is added automatically.
- Enter the website name you want displayed in the Label box. This is the text that will be displayed on your Publisher page.
- Click the Save button to add this website to your Publisher page.
To edit an existing website, click the Edit link in the table row for the the website you want to edit. The data in the row will become editable. Make your changes and click on the Save link to save your changes.
To delete a website, click the Delete link in the table row for the the website you want to delete.
Social Media
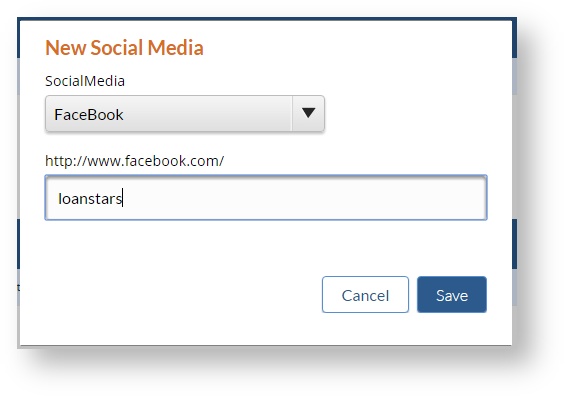
Gather followers for your social media initiatives and help CataList users find you on the internet. Simply add your profile or account names to your publisher page data, and we’ll automatically add the follow buttons to your publisher page.
- Click on Add a Follow Button.
- Select a button to add from the drop-down box: Twitter; Facebook; Linked In; Google+; YouTube; RSS Feed.
- Enter your profile details and click Save.
- Repeat this process to add other follow buttons to your page.
- Go to your Publisher Page and test the buttons to ensure the links are working properly.
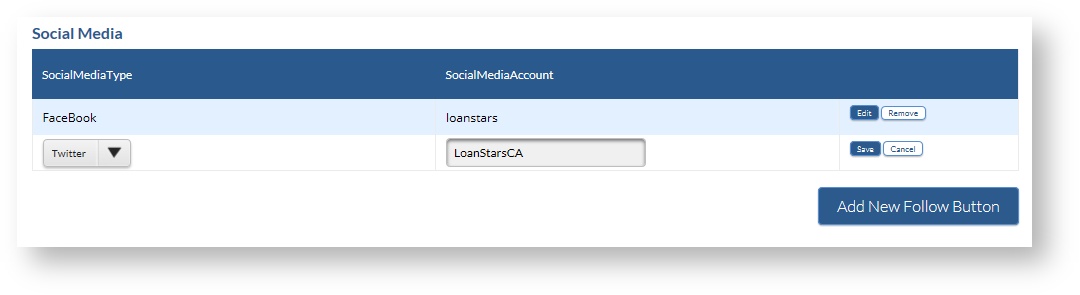
To edit an existing follow button, click on the Edit link in the table row for the the button you want to edit. The profile column in the row will become editable. Make your changes and click on the Save link to save your changes.
To delete a follow button, click the Delete link in the table row for the the button you want to delete.
Gather followers for your social media initiatives and help CataList users find you on the internet. Simply add your profile or account names to your publisher page data, and we’ll automatically add the follow buttons to your publisher page.
- Click on Add a Follow Button.
- Select a button to add from the drop-down box: Twitter; Facebook; Linked In; Google+; YouTube; RSS Feed.
- Enter your profile details and click Save.
- Repeat this process to add other follow buttons to your page.
- Go to your Publisher Page and test the buttons to ensure the links are working properly.
To edit an existing follow button, click on the Edit link in the table row for the the button you want to edit. The profile column in the row will become editable. Make your changes and click on the Save link to save your changes.
To delete a follow button, click the Delete link in the table row for the the button you want to delete.
Contacts
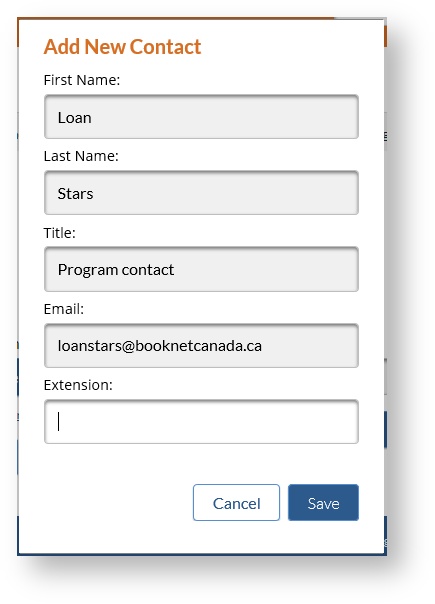
Contacts are displayed to logged-in users of the system only. Contacts is an optional section. If you choose not to add any contacts, the contacts section will not display on your Publisher page.
- Click the Add a Contact button.
- Enter the contact details in the boxes as prompted. Phone extension is an optional field.
- Email addresses are not displayed on the Publisher page, but clicking on a contact name will open an email to that contact in the user's email client.
- Click the Save button to add this contact to your Publisher page.
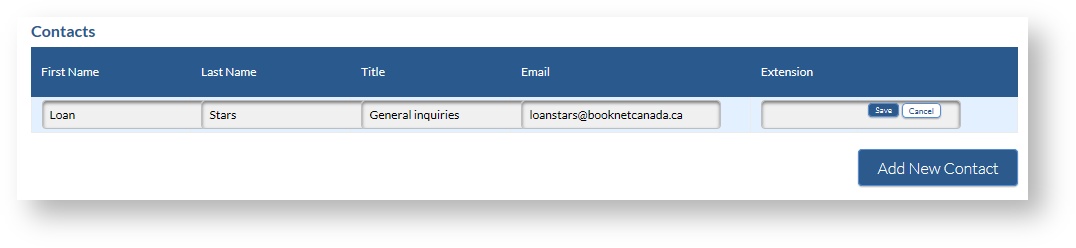
To edit an existing contact, click on the edit link in the table row for the the contact you want to edit. The data in the row will become editable. Make your changes and click on the Save link to save your changes.
To delete a contact, click the Delete link in the table row for the the contact you want to delete.
Contacts are displayed to logged-in users of the system only. Contacts is an optional section. If you choose not to add any contacts, the contacts section will not display on your Publisher page.
- Click the Add a Contact button.
- Enter the contact details in the boxes as prompted. Phone extension is an optional field.
- Email addresses are not displayed on the Publisher page, but clicking on a contact name will open an email to that contact in the user's email client.
- Click the Save button to add this contact to your Publisher page.
To edit an existing contact, click on the edit link in the table row for the the contact you want to edit. The data in the row will become editable. Make your changes and click on the Save link to save your changes.
To delete a contact, click the Delete link in the table row for the the contact you want to delete.
Addresses
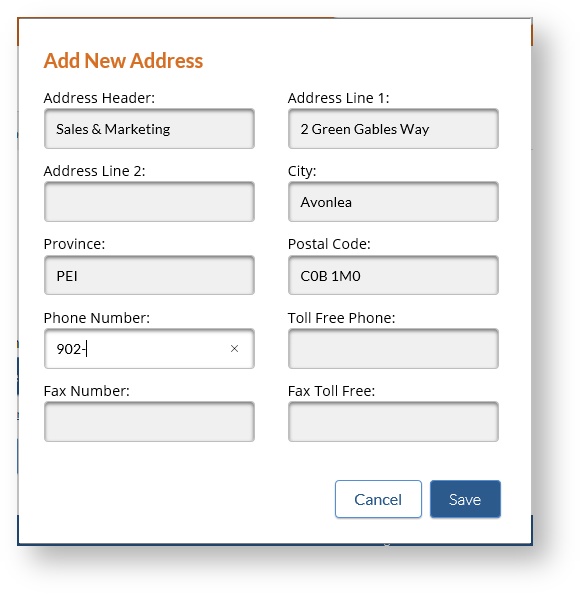
You can add up to three company addresses.
- Click the Add an Address button.
- Enter an identifying header for each address.
- Enter the address details in the boxes as prompted.
- Click the Save button to add the address to the Publisher page.
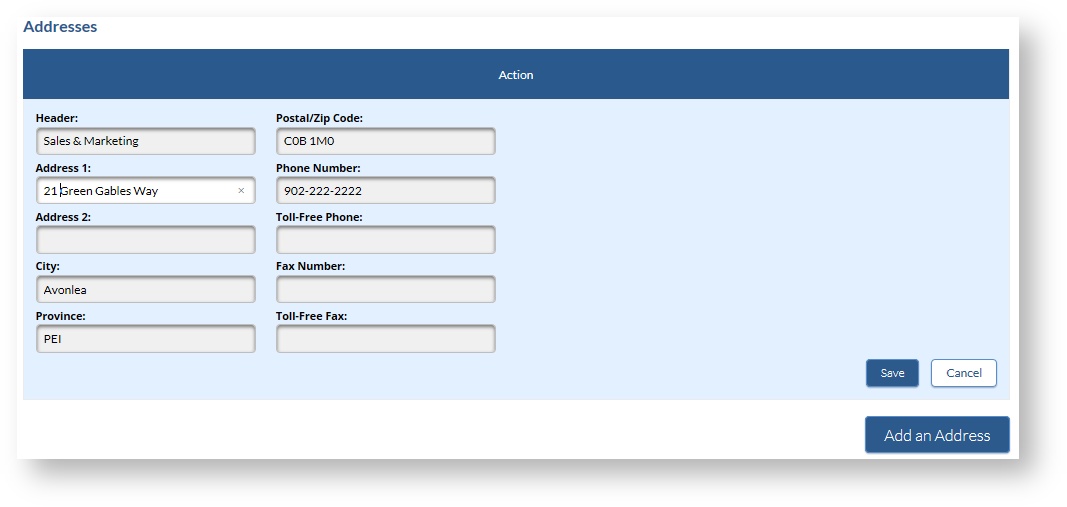
To edit an existing address, click on the Edit link in the table row for the the address you want to edit. The data in the row will become editable. Make your changes and click on the Save link to save your changes.
To delete an address, click on the Delete link in the table row for the the address you want to delete.
You can add up to three company addresses.
- Click the Add an Address button.
- Enter an identifying header for each address.
- Enter the address details in the boxes as prompted.
- Click the Save button to add the address to the Publisher page.
To edit an existing address, click on the Edit link in the table row for the the address you want to edit. The data in the row will become editable. Make your changes and click on the Save link to save your changes.
To delete an address, click on the Delete link in the table row for the the address you want to delete.