Seasonal catalogues are one of CataList’s core features. They will most frequently be a publisher's new seasonal or monthly catalogues, but backlist and annual catalogues can also be created. Titles must be added to a seasonal catalogue first before other users can find the titles in search or add them to their own catalogues. Once a seasonal catalogue is published on the site, it can be viewed by anyone who visits CataList, making it easy for interested buyers to browse those titles without logging in.
Follow the instructions on this page to create, edit, and publish your seasonal catalogues.
| Table of Contents | ||||||||||||
|---|---|---|---|---|---|---|---|---|---|---|---|---|
|
Create a seasonal catalogue
Click any thumbnail to view at full size.
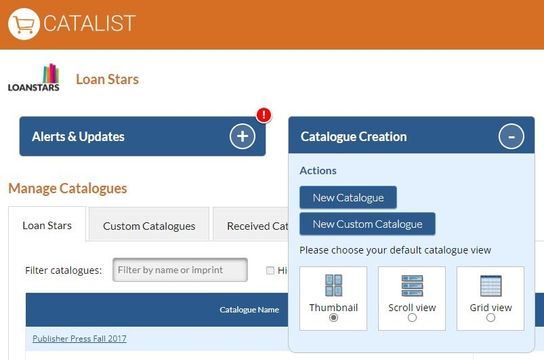
1. From My Page, open the Catalogue Creation tab and click New Catalogue.
| Info |
|---|
Catalogue Editors and Account Managers in Publisher-type accounts are the only CataList users who can create, edit, or publish seasonal catalogues. If you need access to create seasonal catalogues for your account, contact your Account Manager. |
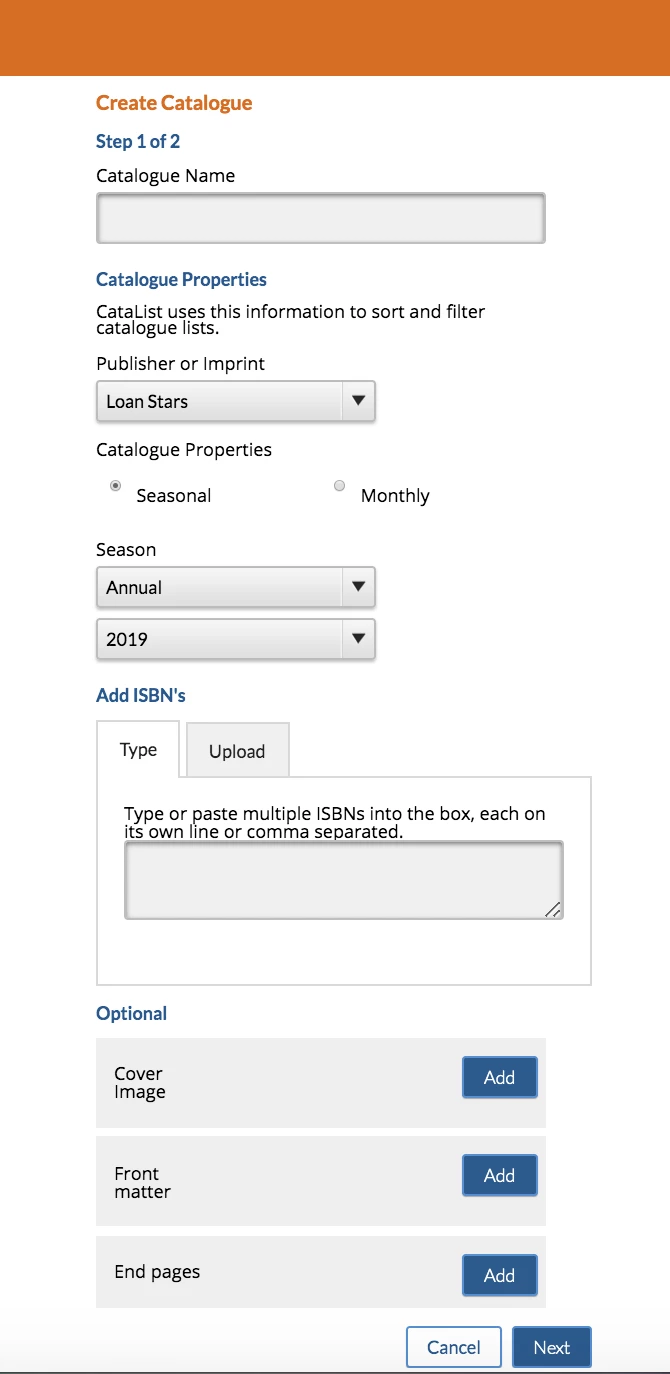
2. In Step 1 of 2, fill in the form with your catalogue details. Both the required and optional content entered in the form can be edited once the catalogue is created. For more information about the required and optional fields, expand the corresponding sections.
| Expand | ||||||||||
|---|---|---|---|---|---|---|---|---|---|---|
| ||||||||||
|
| Expand | ||||||||||||||
|---|---|---|---|---|---|---|---|---|---|---|---|---|---|---|
| ||||||||||||||
|
3. Once you’ve entered the information, click Next.
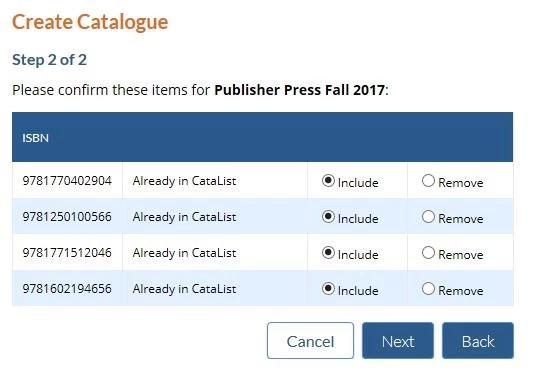
4. In Step 2 of 2, click Next to import data from BiblioShare for your catalogue. You are returned to My Page, where the catalogue is created as a draft.
ISBN errors
In Step 2 of 2, the system confirms the number of ISBNs to be added to the catalogue and notifies you of any errors, such as duplicate ISBNs as well as whether any ISBNs are missing from BiblioShare.
ISBNs that don’t have any available data in BiblioShare can still be added to your catalogue; your catalogue will be created with a placeholder for the ISBN and bibliographic data updates will flow through to CataList from BiblioShare as you submit new data in your ONIX files.
| Tip |
|---|
Catalogue status Seasonal catalogues can be released in stages so that users in the book trade can access your titles before the general public can. The following four catalogue statuses define who has access to view the seasonal catalogue, and where it displays on the system.
|
Edit a seasonal catalogue
Seasonal catalogues in your account can be edited whether they are in Draft or Published status. You can add, remove, and reorganize the titles in the catalogue, or make changes to the catalogue information.
You must be logged in as an Account Manager or Catalogue Editor to access the editing tools.
Quick actions
Quick actions are available directly on the thumbnail, scroll, and grid views in the catalogue. Use the checkbox next to a title to select and act on multiple titles at once.
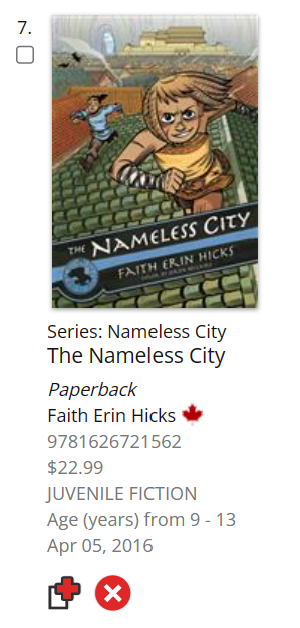
There are two possible quick actions that you can take in seasonal catalogues: copy and delete.
Copy
When you’re logged in, you can copy a title to your own custom catalogue.
If you are viewing a draft seasonal catalogue, the Copy button is hidden for titles that have not been added to CataList yet.
![]()
Delete
When you’re logged in, you can delete titles from catalogues that you have access to edit.
| Note |
|---|
The delete action deletes the title from the catalogue, not CataList. If you are a publisher and wish to remove your title fully from CataList, see Removing titles from CataList. |
Edit catalogue information
| Excerpt | ||
|---|---|---|
| ||
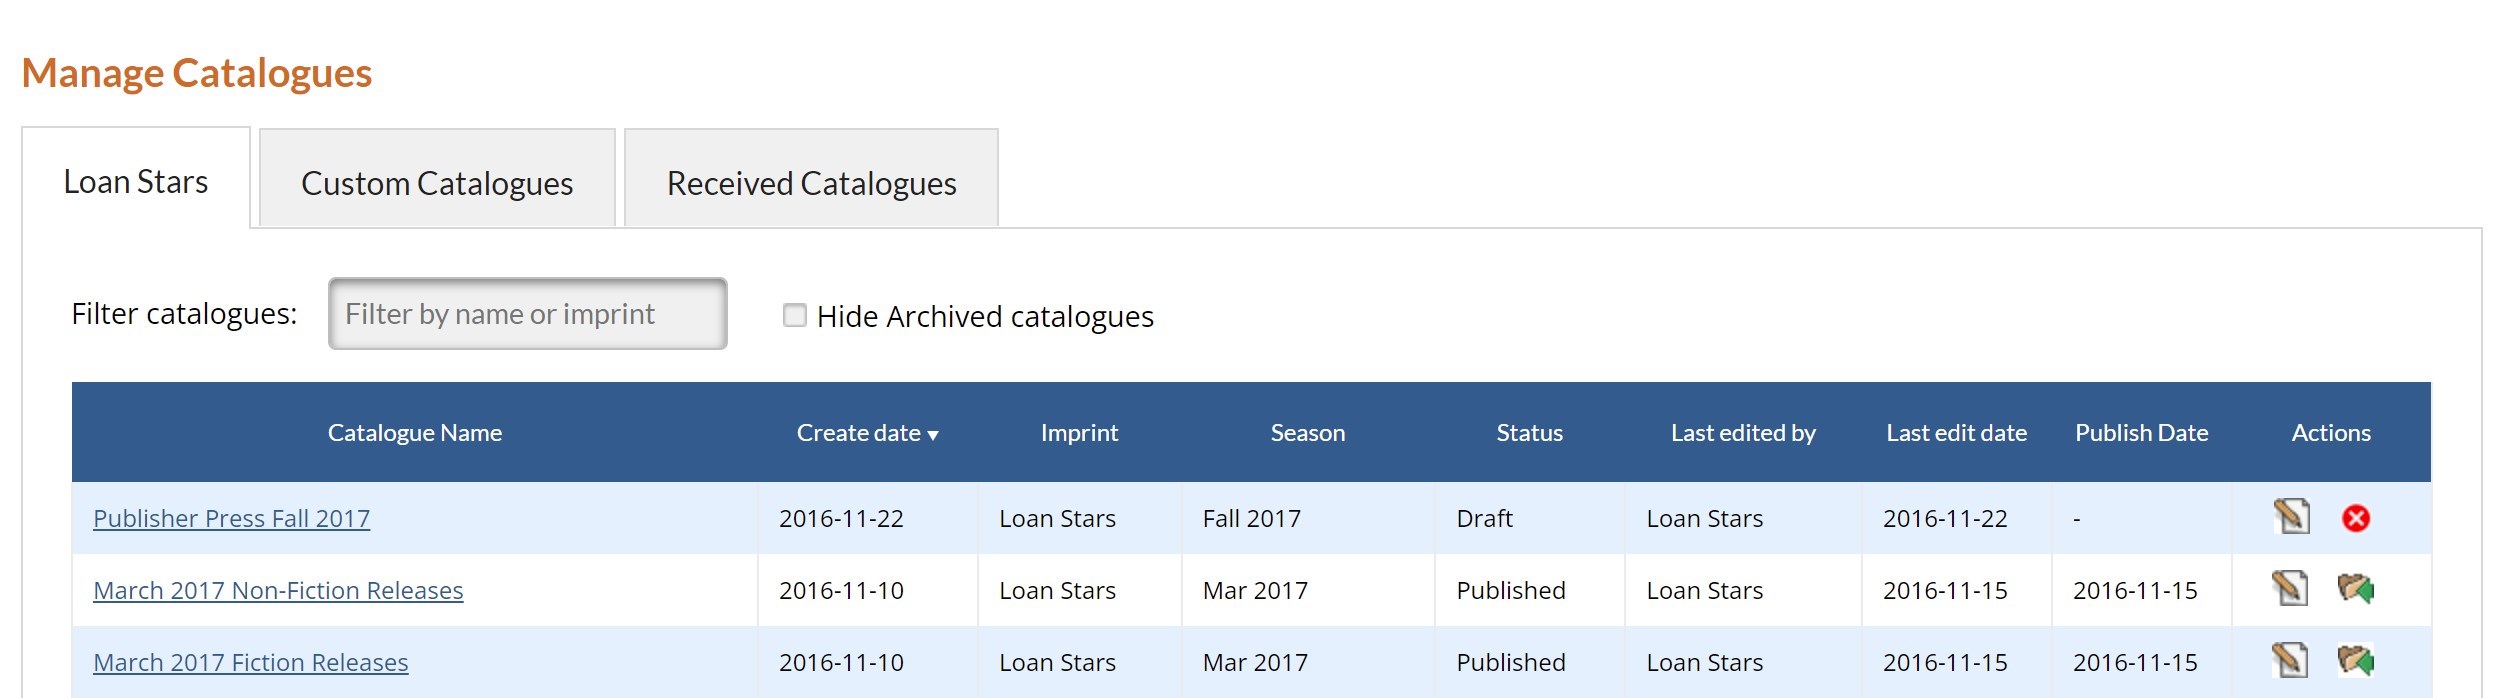
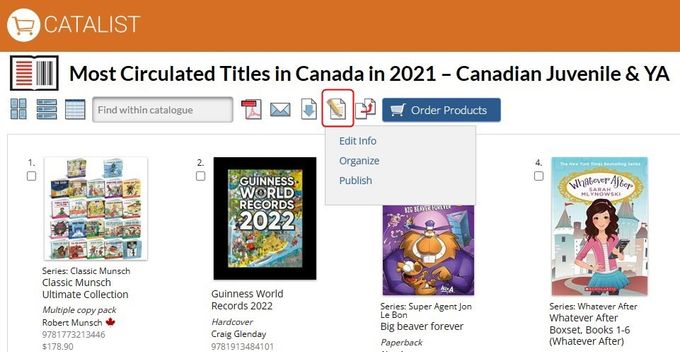
Click the pencil Edit icon to access more editing features, such as adding more ISBNs, adding front matter, reorganizing the order in which the titles appear in the catalogue, or publishing the catalogue. There are two ways to access the catalogue editing tools:
|
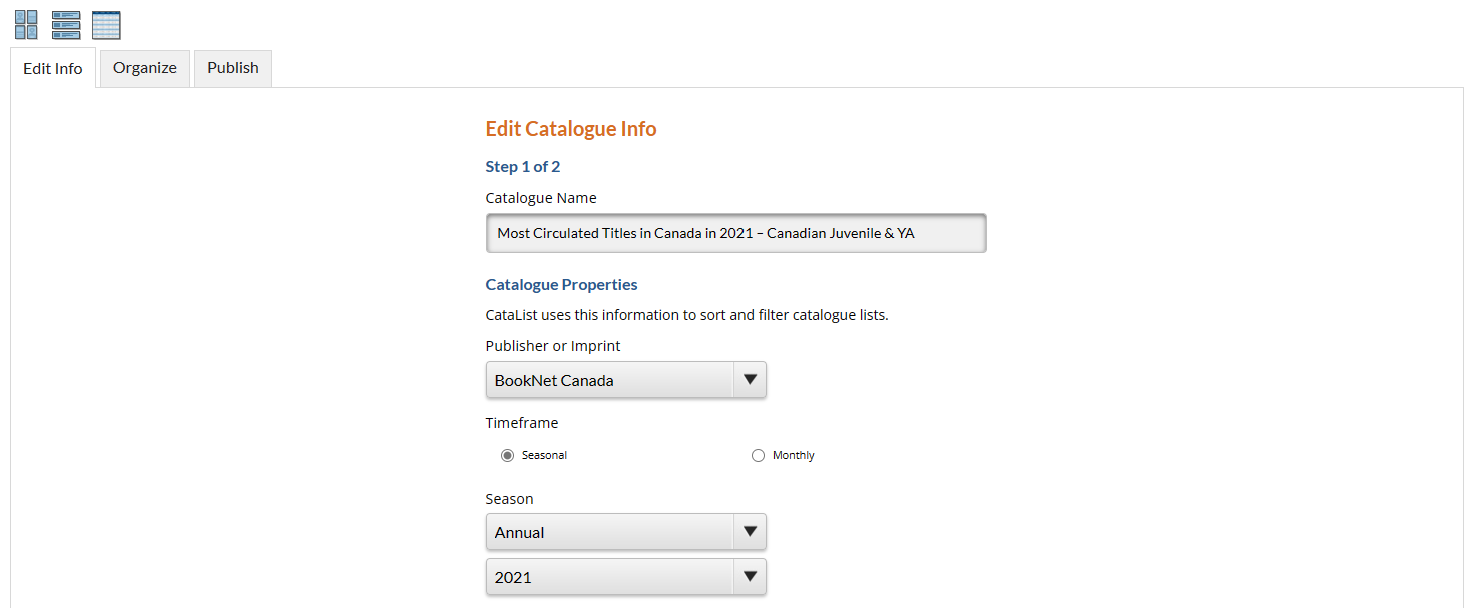
Edit info
The Edit Info tab allows you to change any information that was included or excluded during the catalogue’s creation.
When you add ISBNs to a seasonal catalogue that has already been published, CataList gives you the option to flag the titles as Drop-ins, should you be adding late additions to a current selling season.
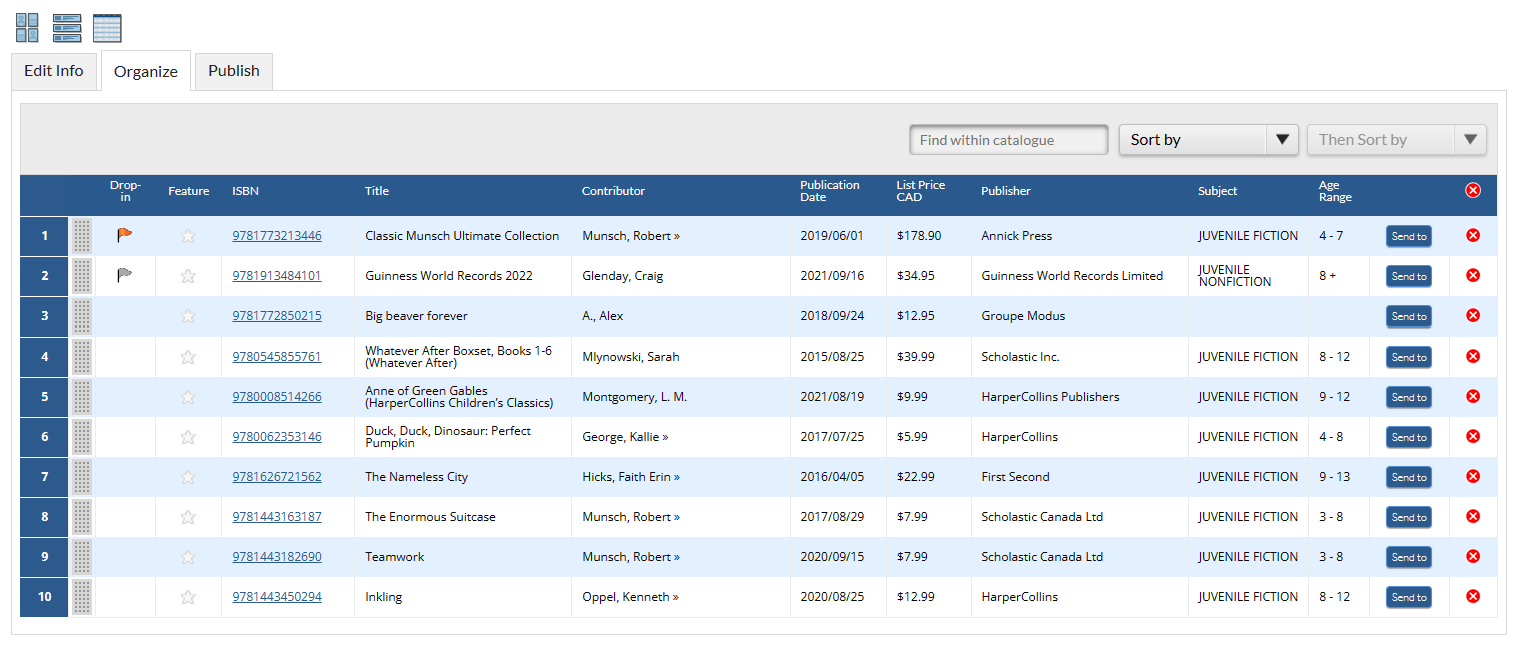
Organize
| Excerpt | ||
|---|---|---|
| ||
The Organize tab allows you to change the default order of titles within a catalogue, create featured titles, and remove titles.
|
When applicable, publishers can also flag their own titles as drop-in titles by clicking the flag icon in the Drop-in column. Learn more about managing drop-in titles.
| Anchor | ||||
|---|---|---|---|---|
|
Publish a seasonal catalogue
Publish your catalogue so that users outside of your account can see it.
To publish a catalogue
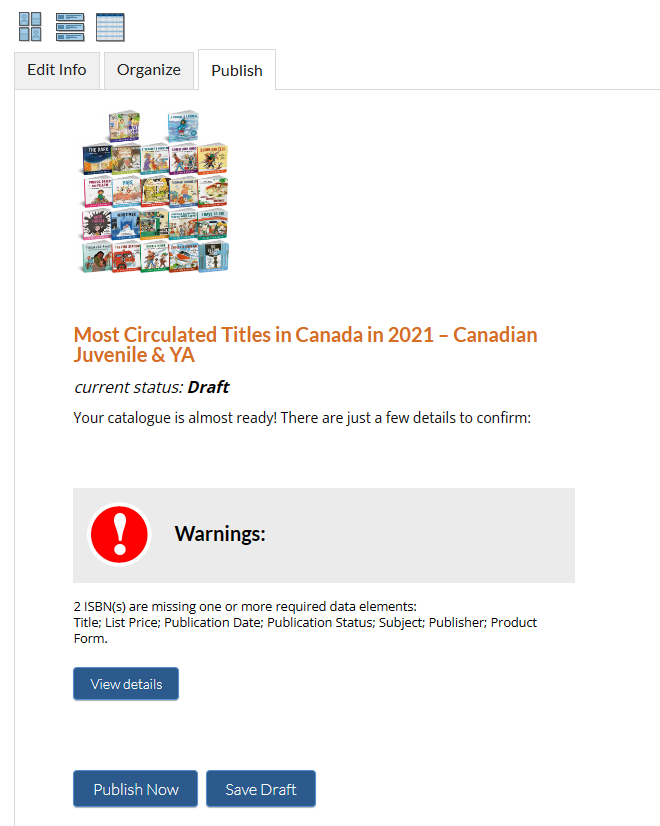
1. Go to the catalogue and click the Edit icon, then click Publish. The Publish tab shows you the current status of the catalogue and reports on any issues, such as ISBNs that are missing recommended information.
2. If any recommended data fields are missing, click View details to see the status of recommended data fields. You can edit the title information or remove ISBNs from the catalogue.
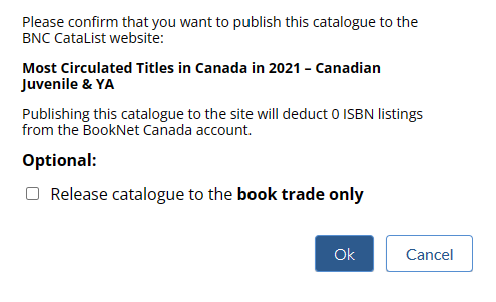
3. After reviewing the details and making any final adjustments to your catalogue, click Publish Now. The confirmation message shows you how many ISBN spaces will be deducted.
If you wish to publish your catalogue fully to CataList, click OK. CataList updates the status of the catalogue to Published, deducts any listing spaces required from your account, and makes the catalogue titles publicly available.
If you wish to limit the release to trade partners only, continue to the steps in the following section.
| Anchor | ||||
|---|---|---|---|---|
|
Release a catalogue as trade-only
Trade-only catalogues, and the titles contained in them, are viewable by users in Retailer, Library, Wholesaler, and Sales Agent type accounts. Publishers can view their own catalogues and titles, but not the trade-only catalogues of other publishers. Sales reps and marketing teams are able to create custom catalogues using titles in catalogues with trade-only status.
To release a catalogue as trade-only
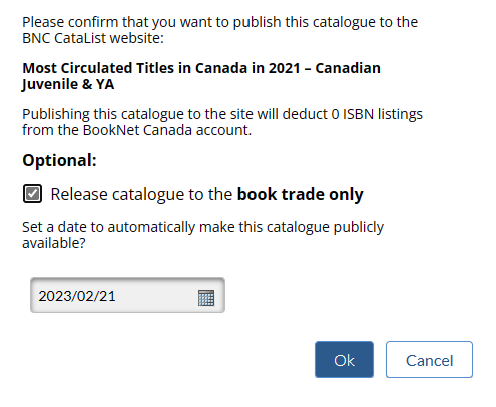
In the Publish tab, click Publish Now and select the check box "Release catalogue to the book trade only."
(Optional) Set a date for when you’d like CataList to automatically change the catalogue’s Trade-only status to Published.
Click OK to release the catalogue to trade-only status.
ISBN listing spaces are deducted for new additions to CataList when the catalogue is released to the trade.

In your catalogue table on My Page, the status "Trade-only" displays for your newly released catalogue. The Publish Date column displays the future release date, if set, in italics.
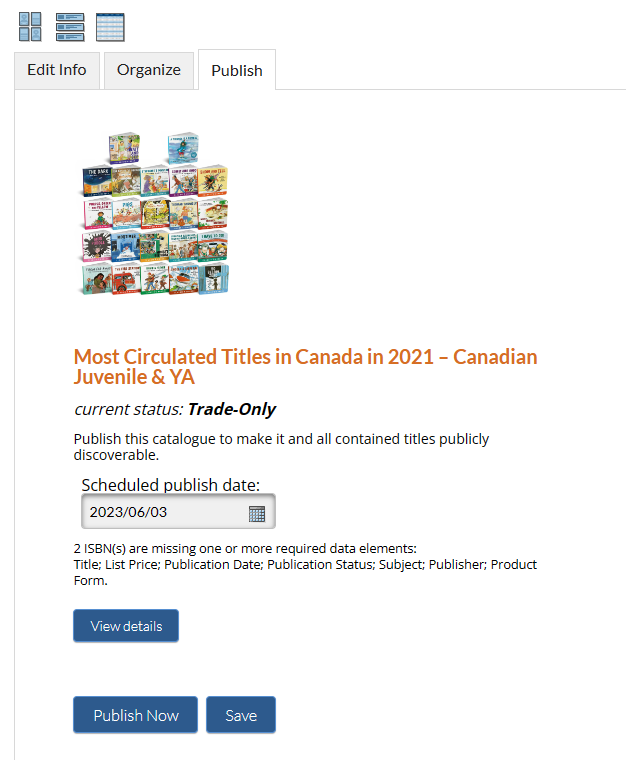
The scheduled publish date can be edited at any time, or the catalogue can be published immediately, by returning to the catalogue’s Publish tab. On the Publish tab:
Click the calendar picker to edit the scheduled publish date.
Click Publish Now to publish the catalogue immediately. The catalogue is made available to all public users who visit CataList.
Trade-only title display in catalogues
Because sales reps can create custom catalogues with trade-only titles, there is a possibility that catalogues may be shared with users that do not have the necessary access permissions to view all titles. The following images show how the same custom catalogue displays for CataList users with different levels of access to the trade-only titles. You’ll see all the actions that you are allowed to perform for this catalogue, based on your access permissions.
Publisher view
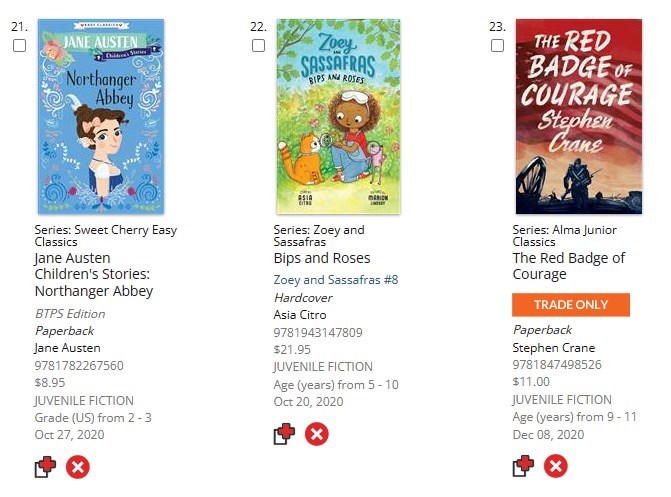
When creating a custom catalogue, reps can easily see in the catalogue views which titles will only be available for signed-in trade users to see. All trade-only titles are clearly marked with a trade-only banner below the title. The custom catalogue can still be shared with anyone, but the bibliographic data for the trade-only titles will be hidden from viewers who do not have access to see it until the source catalogue becomes fully published.
Trade recipient view
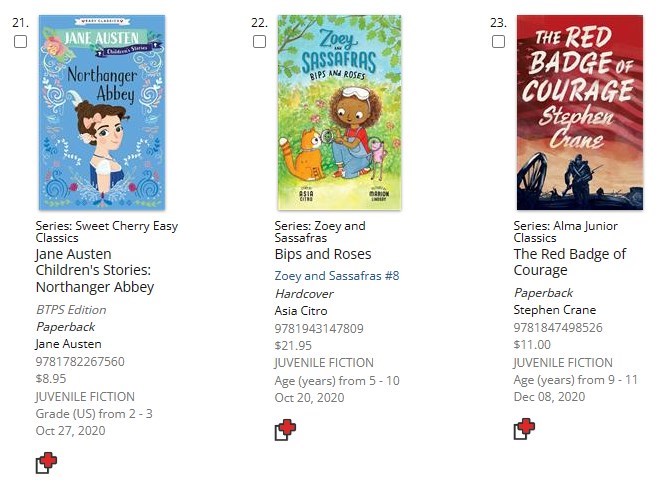
When viewing the catalogue, signed-in users of authorized accounts will be able to see all the bibliographic data for the trade-only titles. The orange notification banner does not appear, making a seamless catalogue viewing experience for these authorized viewers.
Blocked access view
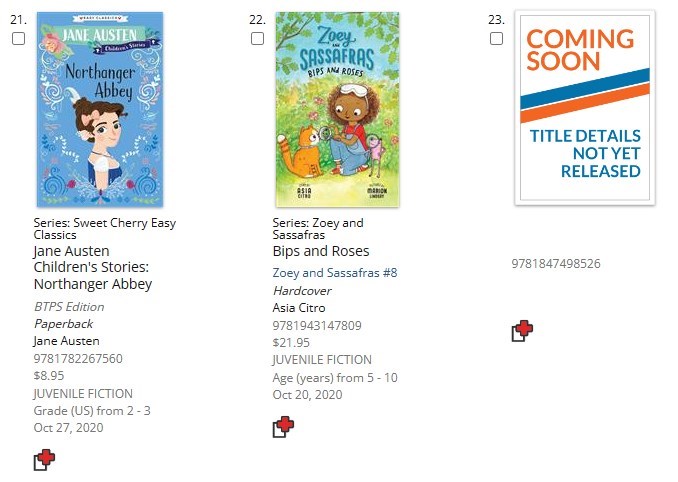
When a catalogue viewer is not authorized to see trade-only titles in a catalogue, they can still view all other titles in the catalogue, and the trade-only ISBNs will be indicated with a Coming Soon placeholder. When the source catalogues are upgraded to a fully published status, the bibliographic data for these titles will display to all viewers.