Video Tutorial
Get a full overview of the contact lists feature in this short video tutorial, or read more below.
Working with contact lists
If you are often sending notes or catalogues to the same group of people, or want to add people to your notes who are not in the directory, you can now add your contacts to lists in CataList. Account Managers and Catalogue Editors can also share contact lists to the whole company.
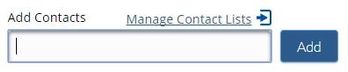
You can access the contact list builder in your Settings on the Contact Lists tab, or click on the Manage Contact Lists link in the recipient tools on any shared note or custom catalogue.
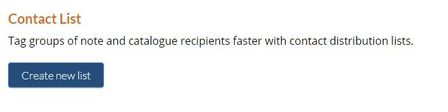
To create a new list, click the Create new list button.
This launches the form where you can provide a name for your list and add contacts to it.
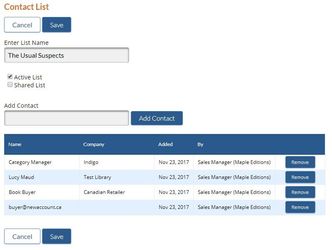
Add a name for your list - something you'll remember when you're entering notes and creating catalogues later.
If you are an Account Manager or Catalogue Editor, you'll have an option to share this list with the rest of your company. Check the box if you want your list to be shared.
In the Add Contact box, you can look-up and add users who are in your account or are opted into the CataList directory.
Want to add a contact who isn't in the directory? Simply enter an email address and click Add!
Contact Lists replaces the previous ability to add recipients for custom catalogues using an email address. Using contact lists, you can add single or multiple email addresses for your contacts who are not in the directory using their email addresses, and tag these users on both custom catalogues and notes.
If you previously added email address recipients on custom catalogues, contact lists have been created for you automatically for each unique set of email address recipients on your existing catalogues. You'll see these in your Contact Lists, named "Email List [number]". You may rename, edit or deactivate these lists as you see fit.
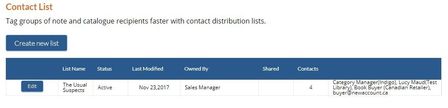
Once you've saved your contact list, you'll be returned to the Contact Lists tab in your Settings page. The new list displays, with a summary of the list details and the people you've added to that list.
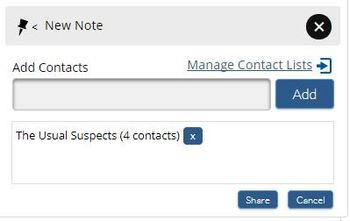
You can now look-up and tag your contact lists as a group of recipients for any note or custom catalogue.
The contact list name will display, along with a count of the number of contacts that are in that list.