Compare to Library Report Basics
Basics
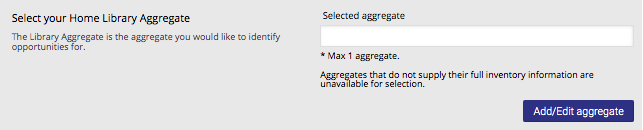
Home Library Aggregate
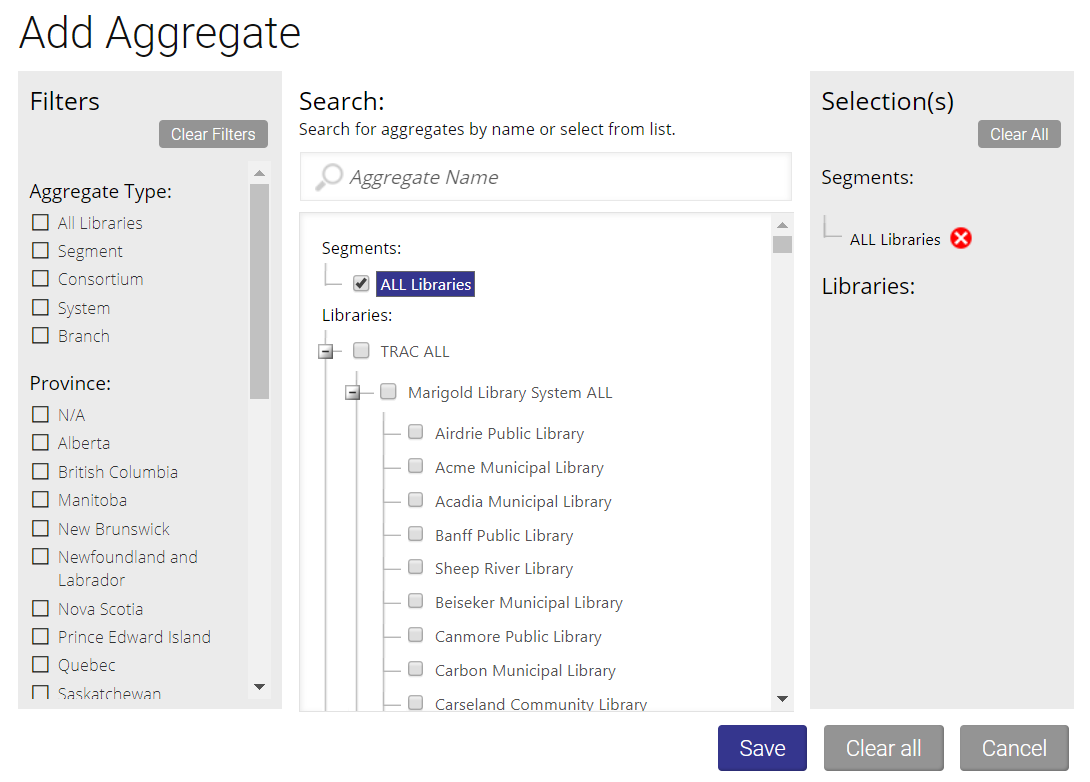
The Home Library Aggregate is the library you would like to identify opportunities for. The Quick Picks section shows recommended aggregates based on the ones you commonly use. To choose a different aggregate, click the Add/Edit Aggregate button to open a menu.
From there, you can filter aggregates based on: type, province, population density, population served, budget, tier, and branch focus. You can also search for specific aggregates by name or from a list.
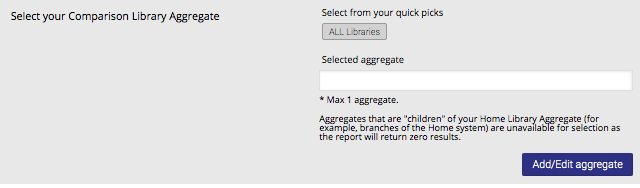
Comparison Aggregate
In this section, you can choose the aggregate you would like to compare data with. Note that aggregates that are "children" of your Home Library Aggregate (for example, branches of the Home system) are unavailable for selection as the report will return zero results.
Additional Aggregates
You may select up to five additional aggregates to compare with the Home Aggregate and Comparison Aggregate that you have selected.
Reporting Period
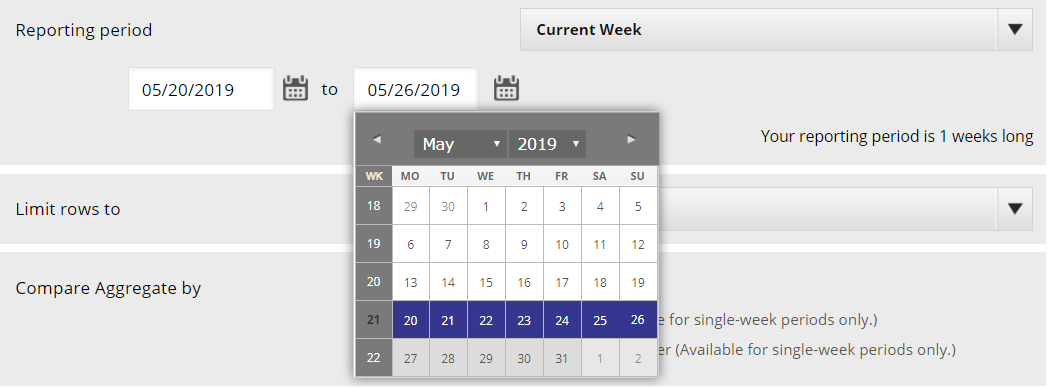
The default setting for Reporting Period is Current Week. Select a different period by choosing from the drop-down menu in the basic view. For more advanced options, select Custom or click on the calendars below.

The default display for Custom Period is the most recent week. To select a different time period, click on the date boxes or calendar icons below to enter the starting and ending date of the reporting period.
Note that if you select a Custom reporting period that covers 208 periods (weeks) or more, the Run Report button will turn grey and a message will pop up informing you that this report is only available through the download option. While your report is downloading you are free to create other reports and use LibraryData. A downloading icon will pop up in the lower left-hand part of your screen while the report is running. To minimize this simply click on the arrow icon in the top right-hand corner. For more information on the Download Manager, check out the help page for it here.
Why are some weeks greyed out?
The calendar weeks can display as greyed out for two reasons:
- The week precedes the first week of data received for the aggregate selected.
- It is a week in the future.
Limit Rows
The default number of rows in your report is 100. To show more report rows, open the drop-down list and select another option.
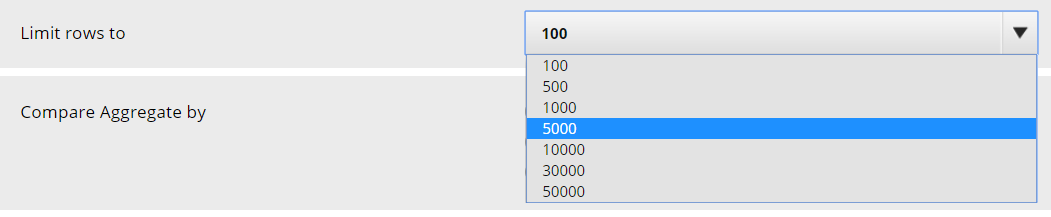
Note that if you select 30,000 or 50,000 rows the Run Report button with turn grey and a message will pop up informing you that this report is only available through the download option. While your report is downloading you are free to create other reports and use LibraryData. A downloading icon will pop up in the lower left-hand part of your screen while the report is running. To minimize this simply click on the arrow icon in the top right-hand corner. For more information on the Download Manager, check out the help page for it here.

Compare Aggregate By
This section gives you the option to rank the results of your report by loans, holds, or copies on order. Note that ranking by holds and copies on order are only available for single-week reporting periods.

Filtering
The Filter by section is an excellent way to limit your results further, and all fields are entirely optional. By setting these extra parameters you can set a maximum and minimum number of loans or holds, or limit to specific subjects or languages.
You can choose to view only titles that are currently available to order. Click this option to limit your results by this criterion.

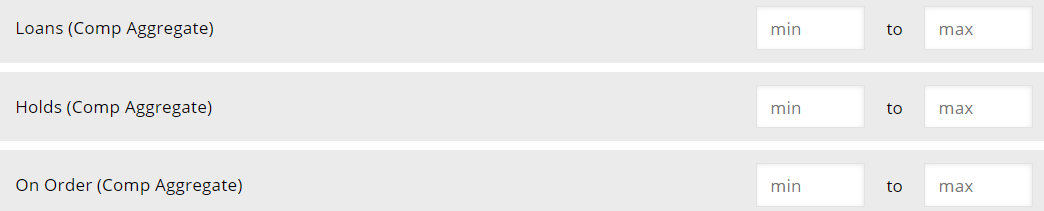
Loans/Holds/On Order
You can limit your search results to a specific number of loans, holds, and/or on order copies at the comparison aggregate using both the minimum and maximum text boxes. You can also choose to fill out only one text box so that your search results filter all titles with units fewer/greater than the maximum/minimum inserted unit number.
Subject
To select a subject category click on the Add/Edit subjects button to open a menu showing the different subject categories.

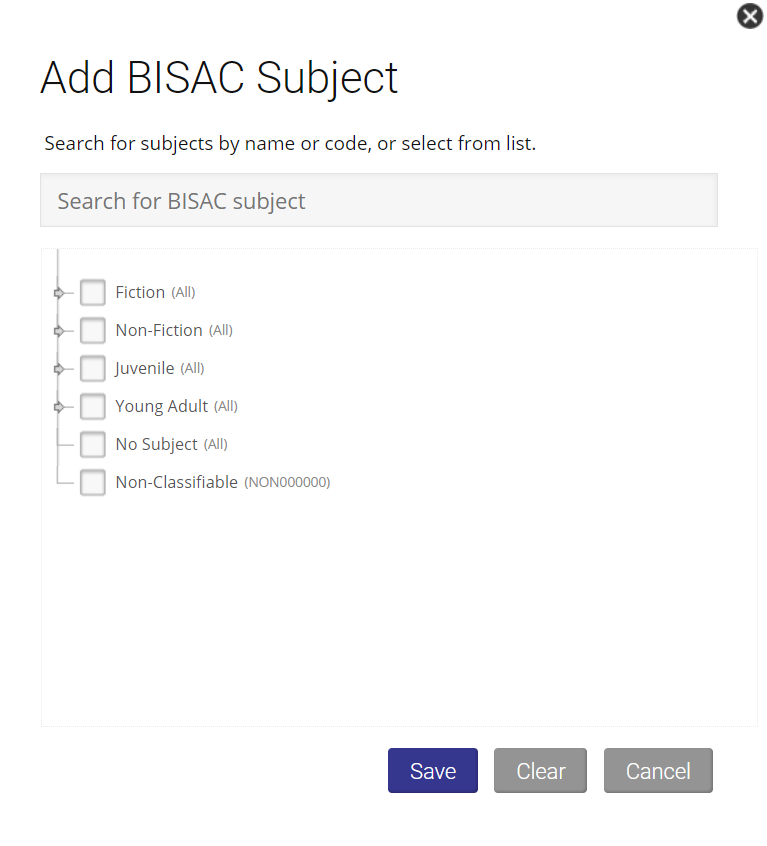
Subject: Search Tree
The menu will initially show the six top-level format categories. To search for additional subjects, you can type in the text box at the top and as you type a drop-down menu with options will appear. You can also click on the arrow icon beside the main subject to open the search tree. To select an entire category, select the top-level subject. To select one or more individual subjects, click the checkboxes beside the subjects you want to use in the report.
 | .png?version=1&modificationDate=1559583640520&cacheVersion=1&api=v2&width=300&height=326) |
| Type in the textbox, or select the top-level subject to search within that category... | ...or select any number of individual subjects. |
Languages
To select a language click on the Add/Edit languages button to open a menu allowing you to search for a language by name or code, or select it from a list.

Tutorial Video
Watch our tutorial video to learn more about building a Collection Gaps Report:
Results
Learn more about the Compare to Library Report Results here.
Back to Collection Gaps Report