Log in to your account
Click any image to view at full size.
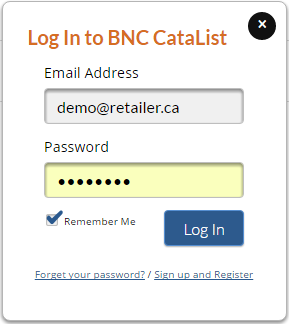
When you receive your welcome email from the CataList system, use the link provided to set up your password. If you already have a SalesData account, you will be using the same email and password combination to access CataList.
Go to bnccatalist.ca and log in with your user name and password.
Set your personal account preferences
To get the most out of CataList, set up your account preferences:
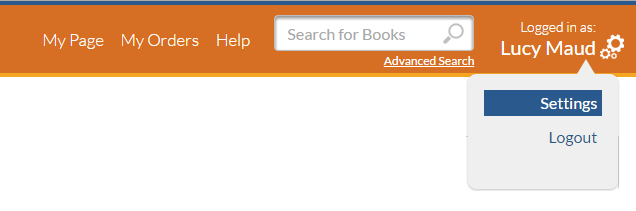
Click the gear icon in the navigation bar and click the Settings link.
Under “Personal Settings”, select your change notification and email preferences.
Opt-in to the CataList Directory. The directory allows other CataList users to shared notes and catalogues with you directly. CataList only ever shares your name and company affiliation, your email address and other contact information are never shared.
Click Save to save your preferences.
Set up your store details
If you are the primary contact for your account, you have additional set-up options. From your Settings page, select the Administration tab. If you do not see this option and need to access the set-up controls, contact us at catalist@booknetcanada.ca to upgrade your access.
Add or edit ordering locations
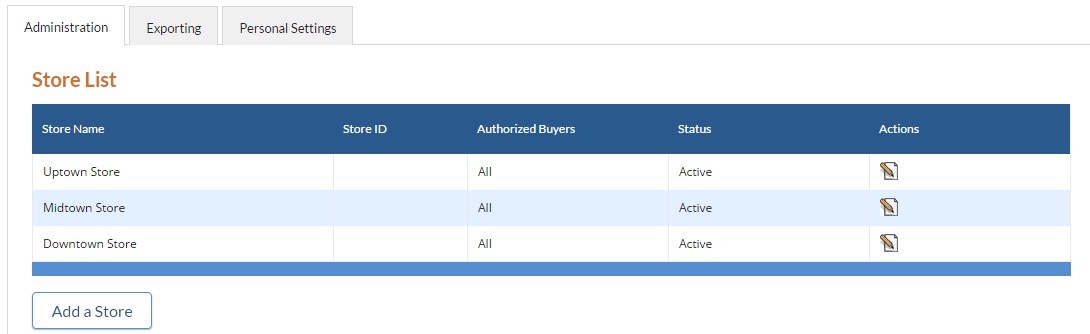
Each account by default has a single store. Click Add a Store to add more stores to your account. Each store will be given its own order box in CataList.
Once your list has been built, you can edit each store listing by clicking the Edit button under the Actions column.
Upload a logo image for your company. We will attach this logo to any custom catalogues your account users create.
Manage your account users
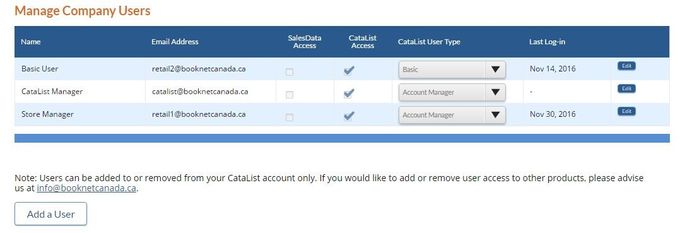
Set up new users in your account by clicking the Add a User button that appears beneath the User List.
Manage each user’s access and user type by clicking the Edit icon in the Actions column. For more information about user types, read about access levels in the CataList Help Manual.
Find and view catalogues or titles
Finding catalogues
Find specific catalogues by entering the catalogue name in the main navigation bar and selecting the Catalogues option from the search type drop-down.

You can also refine your catalogue results by several catalogue aspects:
Catalogue type — lets you filter to only seasonal or only custom catalogues
Catalogued by — applies filters based on the company that posted the catalogue(s). If you have Favourites set, you can select 'My Favourites' as an option.
Status — allows you to include or exclude catalogues based on their draft, published, trade-only, or archived status
Finding your own catalogues
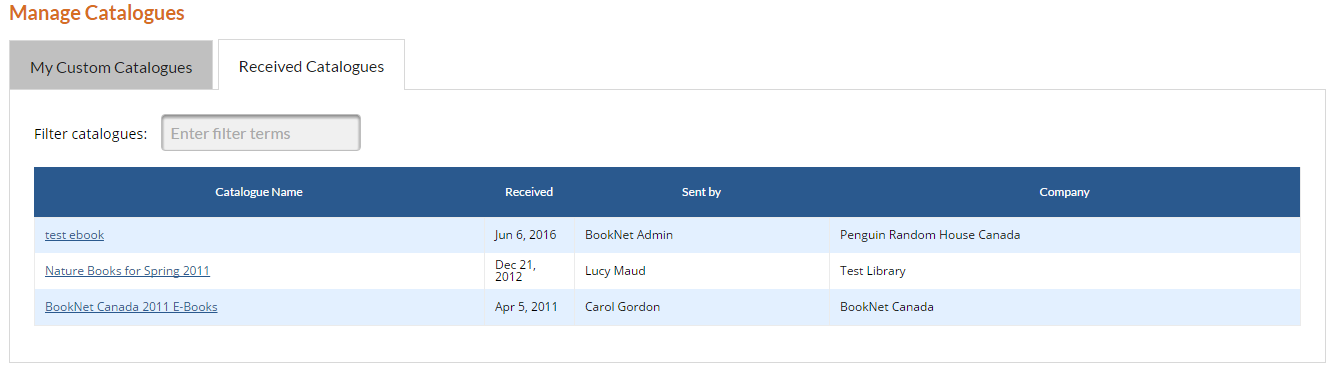
Click the My Page link in the main navigation bar, then go to the Received Catalogues tab to see a list of custom catalogues sent to your account. Click on the name of the catalogue you’d like to view.
Search for a list of ISBNs

Select the ISBN List option from the search type drop-down in the main navigation bar. A pop-up opens where you can enter up to 1000 ISBNs.
Click Submit to run your search.
CataList returns the matching items in the system. By default, book matches are presented in the same sequence as your original list. ISBNs with no match in CataList will not display.
Finding specific titles
By default, the Quick Search box is set to look for matches for your search terms across title, subtitle, contributor, series, subjects, publisher, imprint and keywords. The search returns matches, showing the newest titles first. You can change the sort order of the titles, set a number of titles to display per page, and when you are logged in, you can export the title list to Excel or add the list of titles to a catalogue.
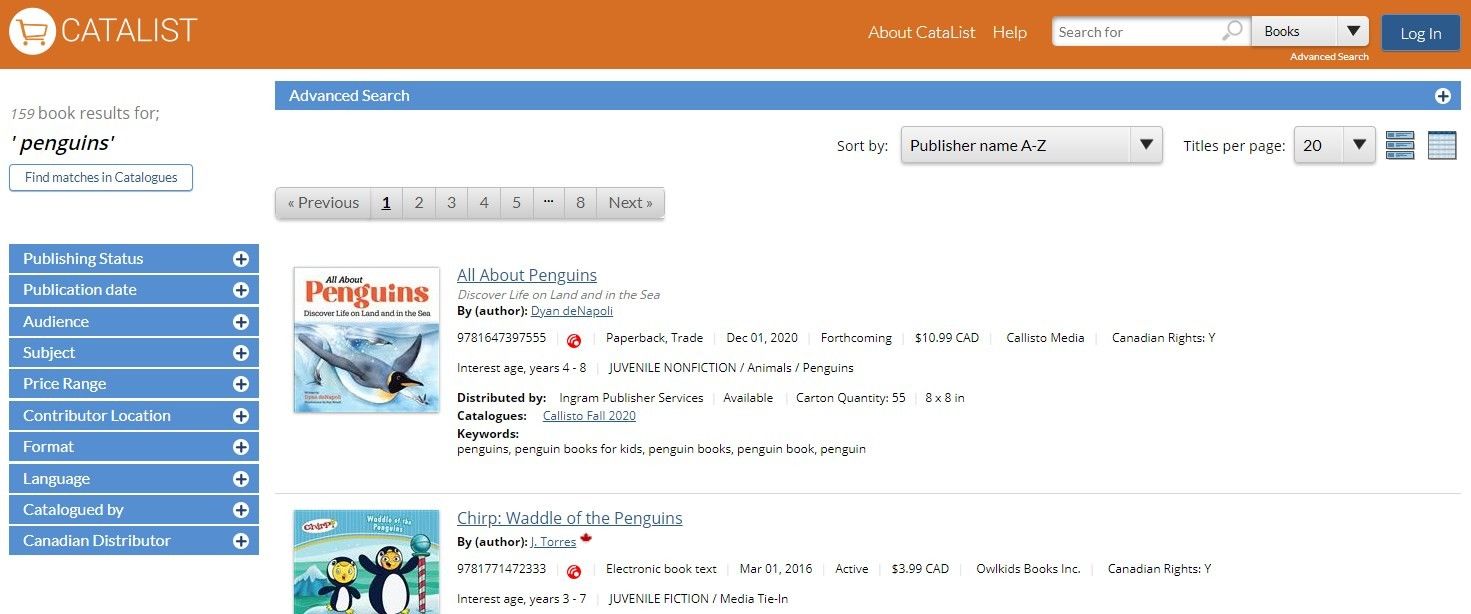
You can refine your result by applying a variety of optional filters:
Publishing Status - CataList now returns all titles in the system, but you can limit with this filter to only forthcoming or available titles.
Publication Date - Click on the start or end date to limit results to only titles that publish within a specific date range.
Audience - Easily limit to Juvenile, Young Adult or General trade with one click.
Subject - Limit by BISAC subjects. You can select multiple subjects, and drill down through subject levels.
Price Range - Use the sliders to adjust the top and bottom limits for Canadian retail price to your search results.
Contributor Location - Contributor location allows you to limit your search results to only books with Canadian contributors. Publishers are increasingly providing Contributor region codes and location details - where we have this data you can filter down further by province!
Geographical Region - Where publishers have provided BISAC regional codes or Thema geographical qualifiers, you can use theses region filters to narrow the results set by topic or setting location of the books
Format - Filter your results by Product Form.
Language - Limit results by language of the text.
Catalogued by - Applies filters based on the company who posted the title into catalogues. If you have Favourites set, you can select 'My Favourites' as an option.
Canadian Distributor - Filter by the distributor who will fulfil the order in the Canadian market.
Content Available - Limit to result matches where excerpts, reading group guides, teacher's guides or other supplementary content is provided.
Find title information
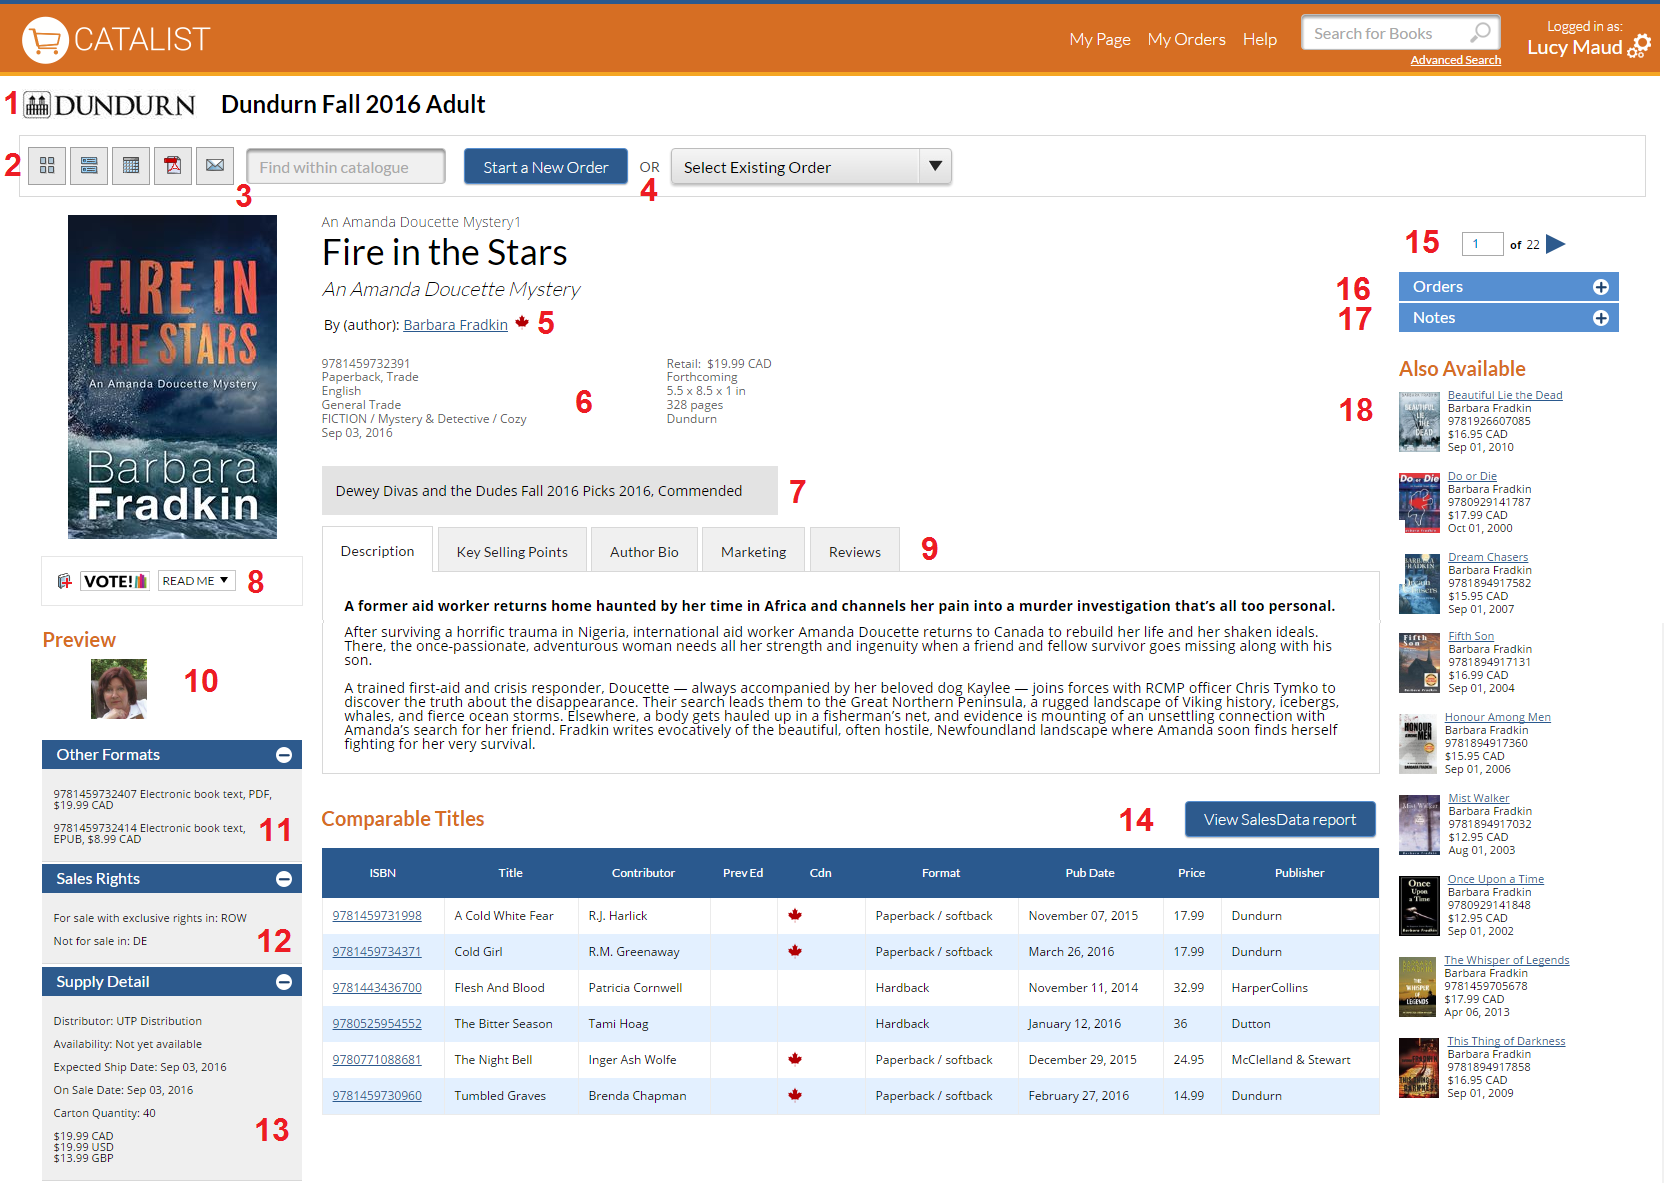
Click the publisher logo to jump to their publisher page.
Navigate to the Thumbnail, Scroll, or Grid views of the full catalogue, create a PDF of the page or email a link.
Enter text to find matches in the current catalogue. Click the desired match to go to the title detail page.
If you are using the order functionality, you can start or select an order here. Once opened, your current order details will be displayed in this location.
Canadian contributors are marked with a maple leaf for easy identification.
Bibliographic data details for the title including subject, publication date, price, audience range, page count, dimensions and illustration details.
Details of award nominations and wins.
Actions to take on this title, including adding it to a custom catalogue or requesting a reading copy.
Additional text content for the title, as available. Click through the tabs to read more detailed information.
Click for a gallery of related images such as interiors, and view embedded video.
See other formats of the same work.
View sales rights details.
View supply details, including carton quantities.
View the list of comparable titles and click on any linked ISBNs to get more details on that item. SalesData subscribers can also view sales history for each comp title.
Navigate page-by-page or jump to a specific page.
Enter or edit order quantities, when working in an order.
Jot down notes for your own reference, view notes shared to you and add notes to share with others.
Click on any title or cover to see more information for related titles.
Set your personal account preferences
To get the most out of CataList, set up your account preferences:
Click the gear icon in the navigation bar and click the Settings link.
Under “Personal Settings”, select your change notification and email preferences.
Opt-in to the CataList Directory. The directory allows other CataList users to shared notes and catalogues with you directly. CataList only ever shares your name and company affiliation, your email address and other contact information are never shared.
Click Save to save your preferences.
Set up your store details
If you are the primary contact for your account, you have additional set-up options. From your Settings page, select the Administration tab. If you do not see this option and need to access the set-up controls, contact us at catalist@booknetcanada.ca to upgrade your access.
Add or edit ordering locations
Each account by default has a single store. Click Add a Store to add more stores to your account. Each store will be given its own order box in CataList.
Once your list has been built, you can edit each store listing by clicking the Edit button under the Actions column.
Upload a logo image for your company. We will attach this logo to any custom catalogues your account users create.
Manage your account users
Set up new users in your account by clicking the Add a User button that appears beneath the User List.
Manage each user’s access and user type by clicking the Edit icon in the Actions column. For more information about user types, read about access levels in the CataList Help Manual.
Manage order quantities
Managing orders
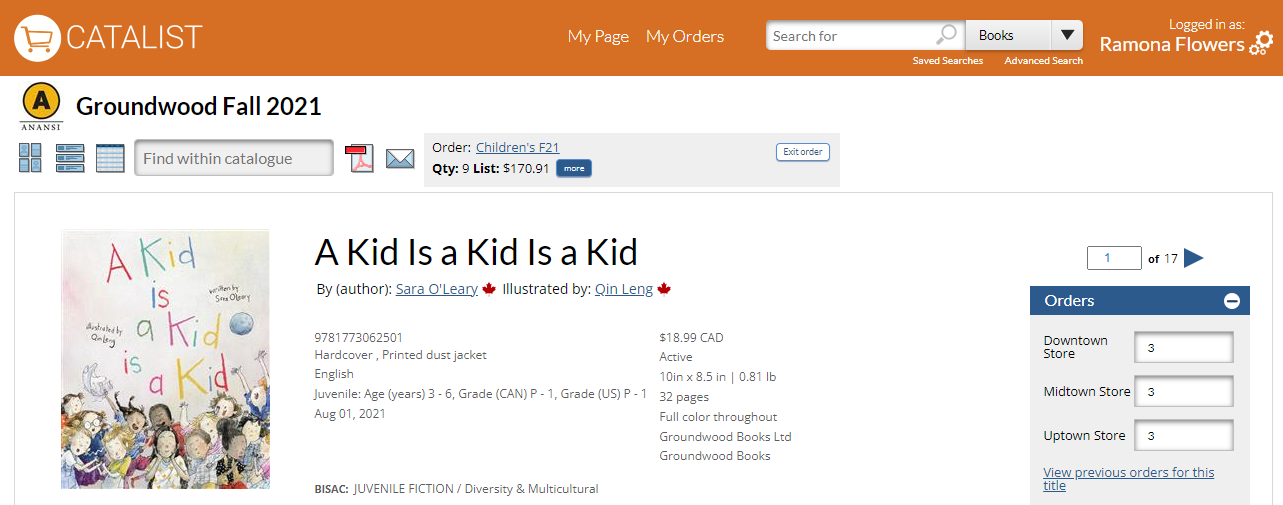
On any catalogue or title detail page, click Order Products to begin a new order.
On the right-hand side of the title detail page, expand the Orders section to see order boxes for your active stores.
Enter or edit order quantities in those boxes. Your changes are saved automatically.
View all your orders by clicking My Orders in the main navigation bar.
View and export orders
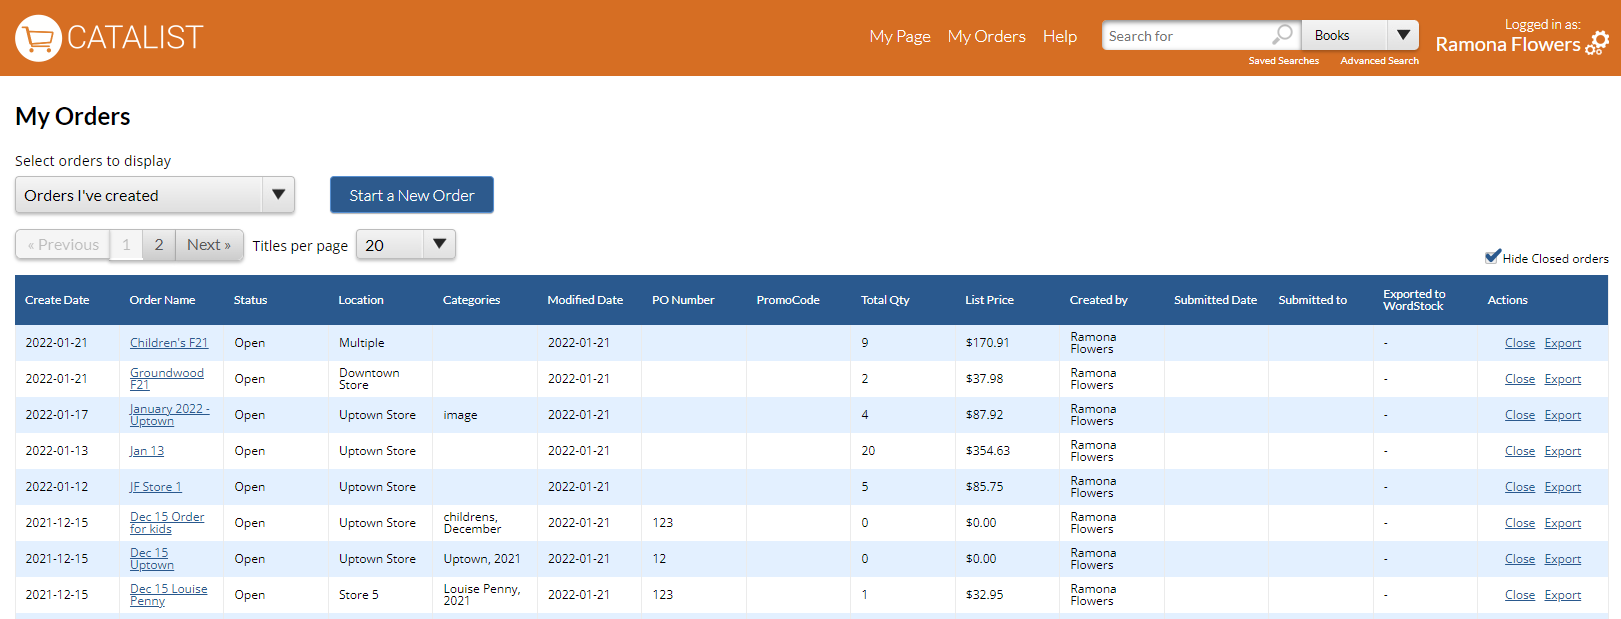
View all your orders by clicking on My Orders in the top-right menu.
Filter the list of orders that display to your own orders only or all company orders.
View or edit an order
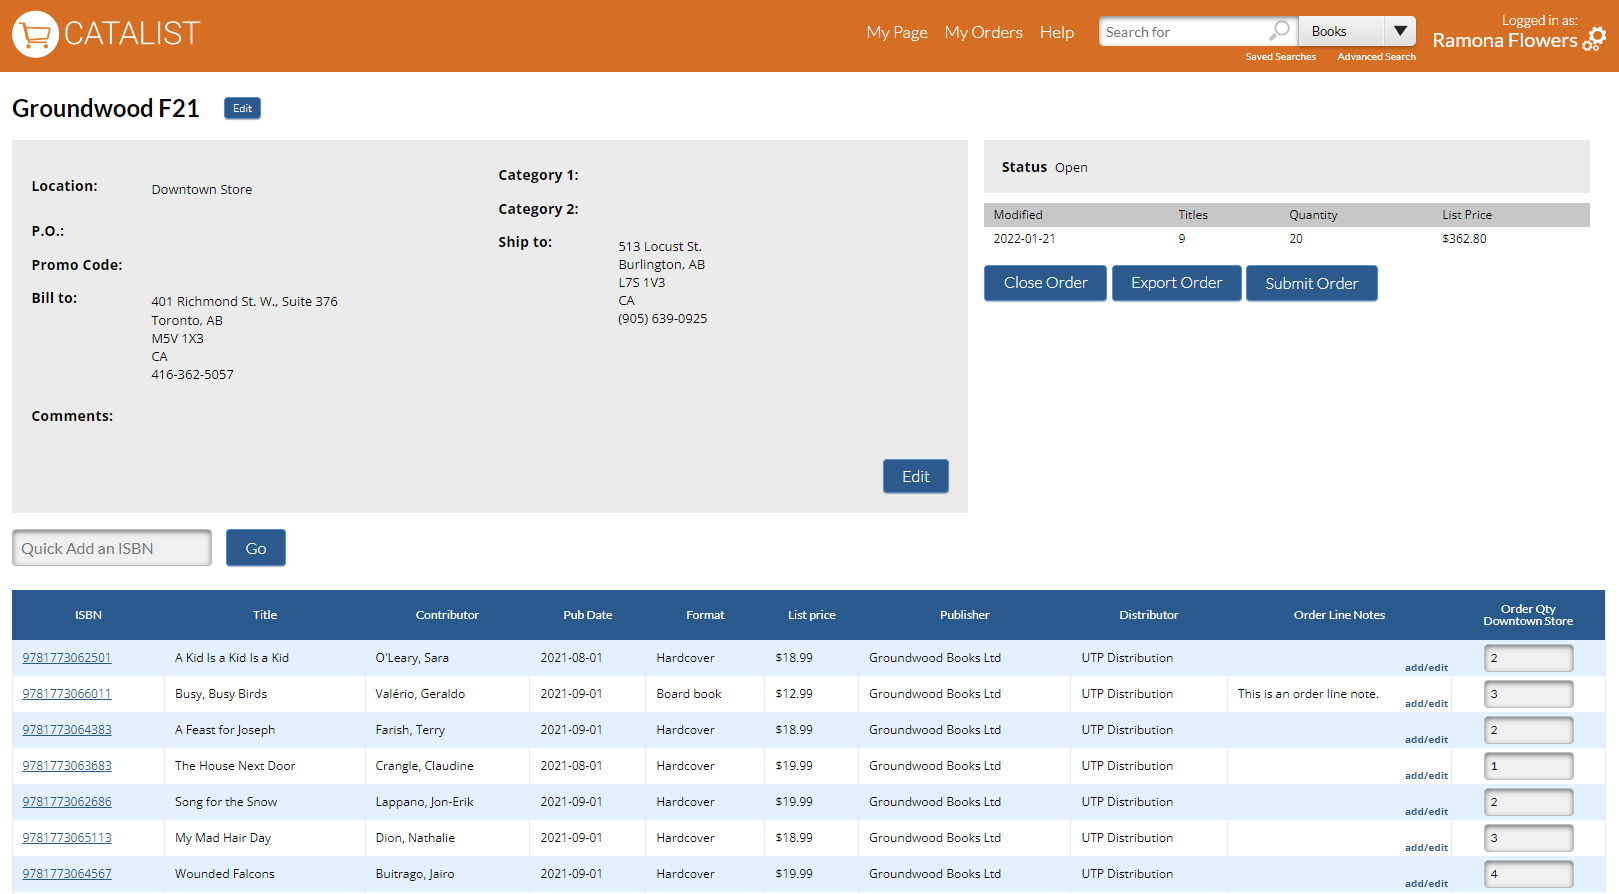
To view an order, click on its name in the My Orders list.
Add or edit order quantities for titles by individual stores or add new ISBNs directly to the order
Add or edit order details such as purchase order number, sales rep or promotion codes.
Export your order in Excel or CSV format, and submit them to your vendors. Completed orders can be closed.
More resources
Looking for more information? Find it here:
Contact the CataList team: catalist@booknetcanada.ca