The Administration page allows Account Managers to view and maintain the details of their company's account. Basic Users in your account do not have access to view or edit these elements. There are three sections on this page, the Store List, Company Logo and the User List.
...
Store/ Branch List
| Section |
|---|
| Column |
|---|
| 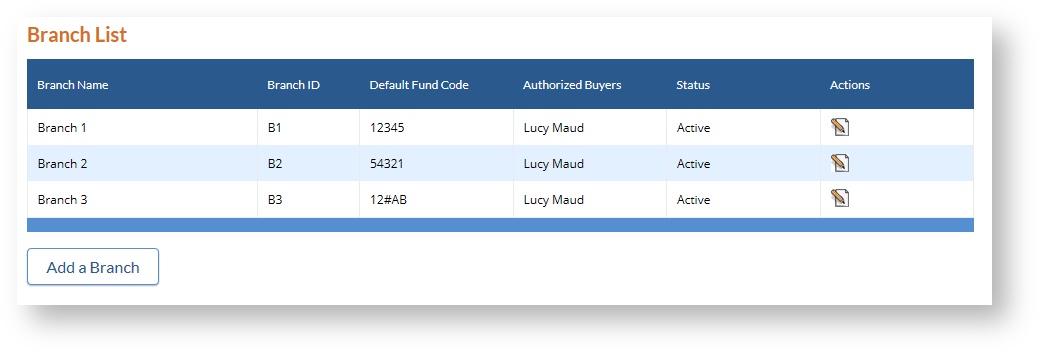 Image Modified Image Modified
Click on image to see full size. |
| Column |
|---|
| If you are a retailer you will see the designation "Store" on this page, if you are a library you will see the term "Branch" used. Each account is automatically assigned a default store or branch with the same name as your account name. Account Managers can rename this store, add additional stores or make existing stores inactive. Libraries can add branches or selector names in place of stores. - To add a store, click on the Add a Store button. Supply the store information and save changes to add another location.
- To change the name of a store, or make a location inactive, click on the Edit button in the table row of the store name you want to change. The system will bring up a pop-up with the current store details which can be added to or edited. Click Save to save your changes.
|
|
Authorizing buyers for specific locations
| Section |
|---|
| Column |
|---|
|
 |
| Column |
|---|
|
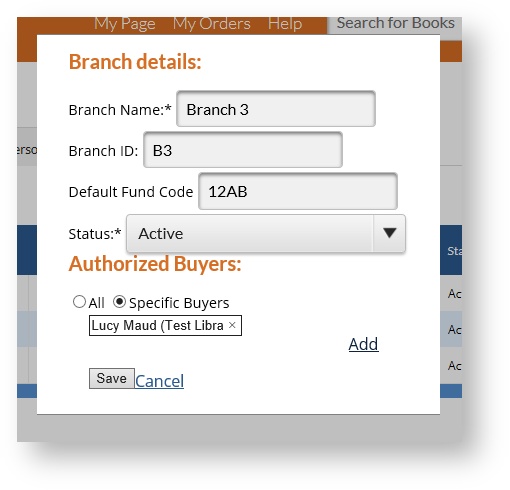
By default all registered users in retailer and library accounts have access to add or edit purchase quantities for all locations. Account Managers may wish to limit access to purchasing functions in CataList to only certain designated people inside their account, or to even further limit some account users to have access to enter purchase quantities only for particular stores or branches. Select the Specific Buyers option and start typing in the name of the account user you would like to authorize for this location.Click the Add button to add a buyer. Each store can have multiple buyers specifed. If a user's purchasing access has been limited to specific locations, this affects the display of order box in title and catalogue views - they will only see the order entry boxes for locations they have the ability to purchase for. |
|
Company Logo
| Section |
|---|
| Column |
|---|
| 
|
| Column |
|---|
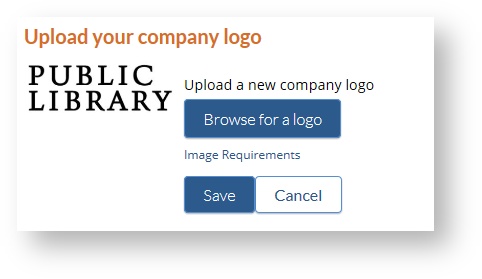
| Each retail or library account may load a company logo to CataList. The company logo will be displayed on any custom catalogues created by your account. For example, if you create a custom catalogue with the major titles for the upcoming season and share it to your staff, your store logo will be displayed on the Thumbnail View page of the catalogue. Publisher logo will continue to display on the individual Title Detail pages. - To add a store logo, click on the Choose File button and browse your files for the image. Please select a jpeg file, no more than 300 pixels on the longest side.
- Click on the Save button. Your logo will appear display on the page when successfully loaded.
|
|
...
User List
| Section |
|---|
| Column |
|---|
| 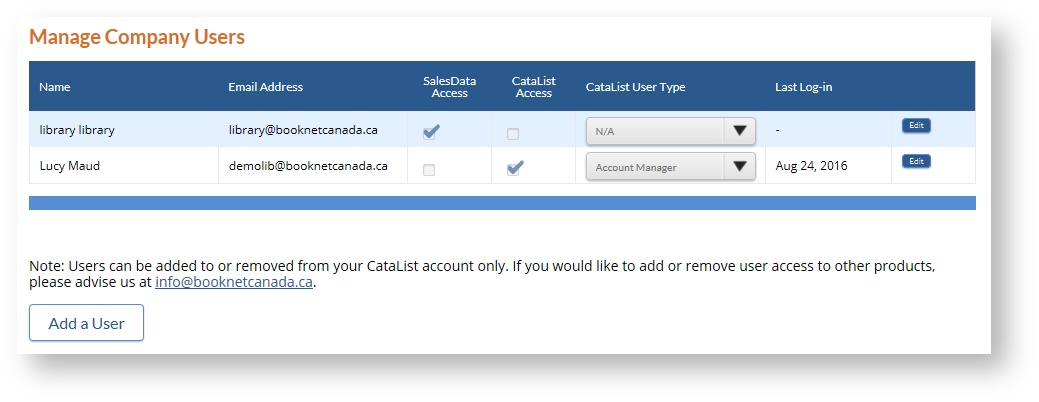 Image Modified Image Modified
Click on image to see full size. |
| Column |
|---|
| Account Managers can view and maintain the users in their company account. Access to BNC CataList can be added, edited or removed for existing users in the account, and new users can be added. The user list also displays any access users in the account have to other BNC products, such as BNC SalesData. - To edit access for an existing user, click on the Edit link in the table row for the user you want to edit. The CataList details will become active for editing. Access can be turned on or off by selecting or deselecting the check box in the CataList Access column. Access levels can be selected for any user in the company account by selecting an access level from the drop-down menu in the CataList User Type column. Click Save to save your changes.
- To add a new user to your account, click on the Add a User button below the User List table. A dialogue box will prompt you to enter the new user's first and last name, email address and the access level you wish to set for the user. Enter the new user's information and click Save. The user will then be sent an invitation email from CataList. The new user will need to click on the link in the invitation email in order to activate their account.
|
|
...